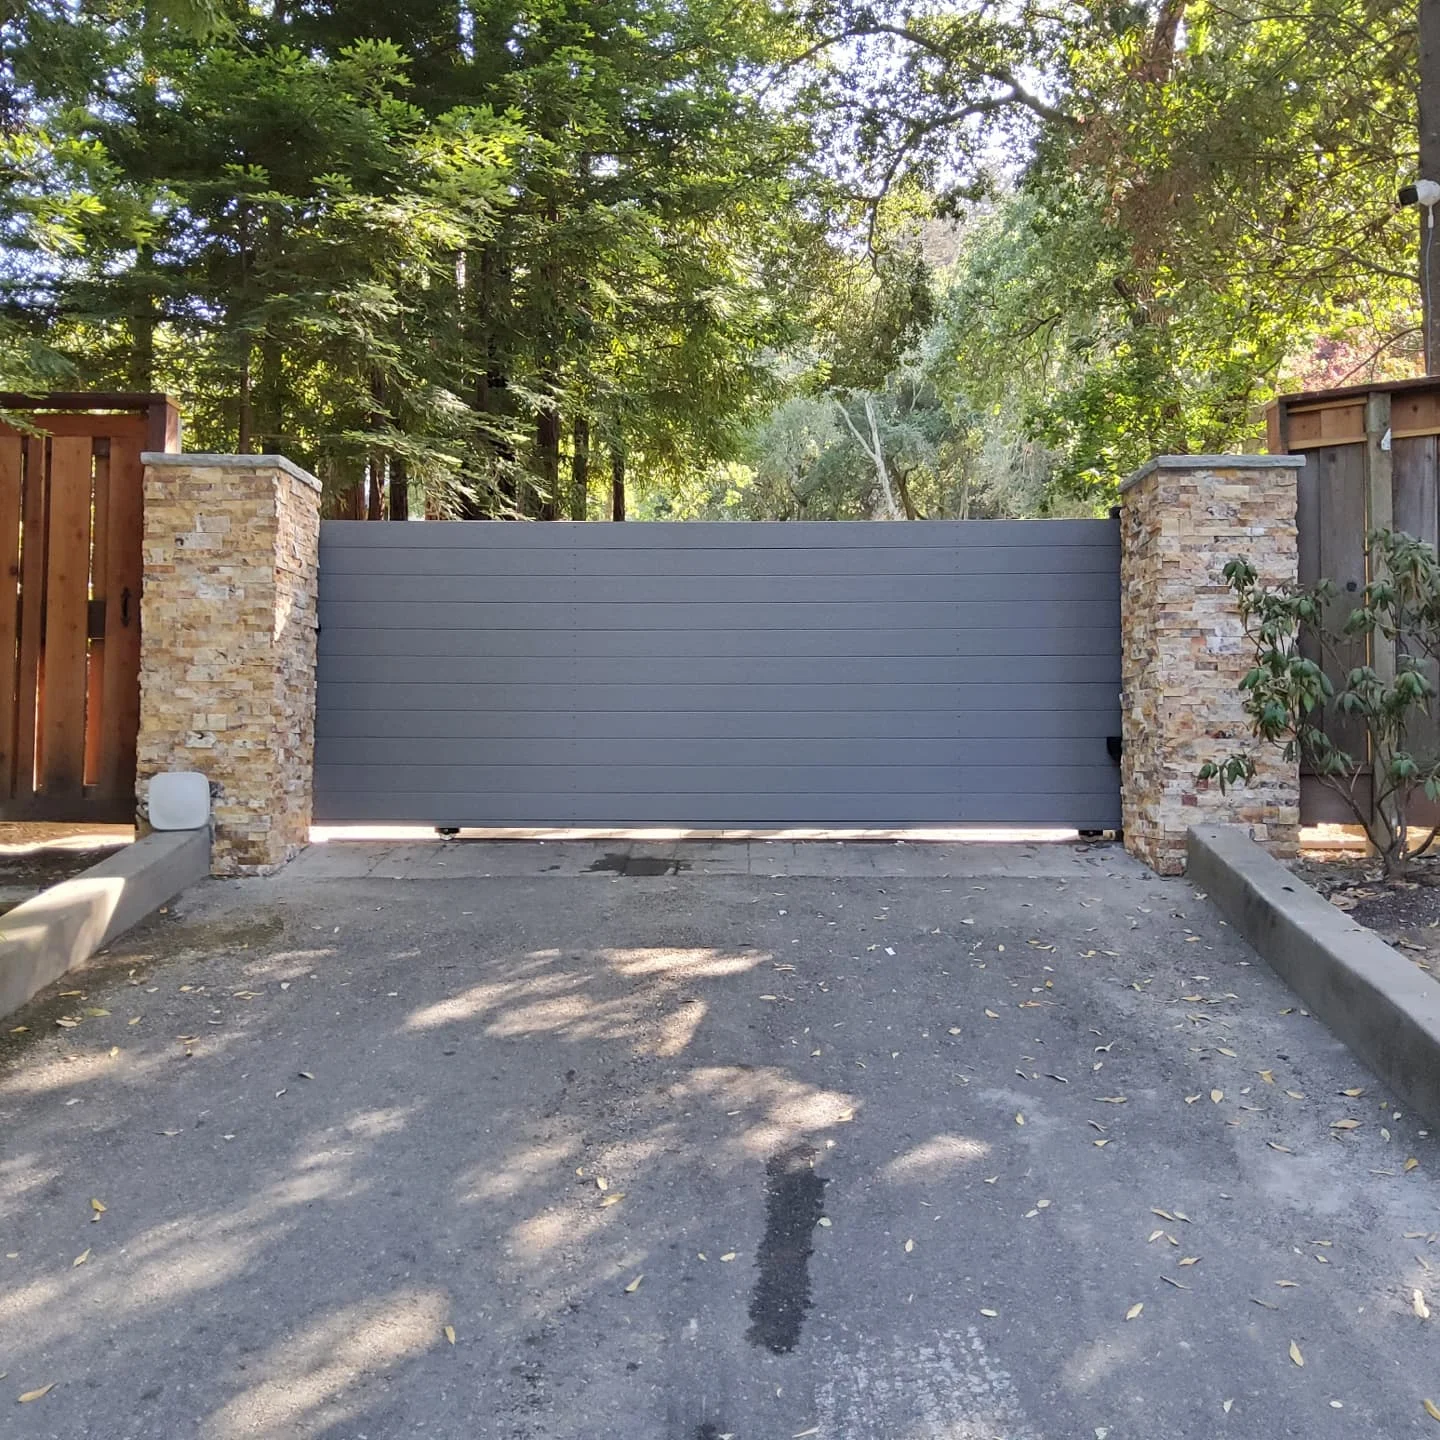
Installing or renewing weather seals on your garage door prevents drafts and keeps the system from working harder during seasonal swings. Address the perimeter first so the door can close cleanly without strain.
The mistake that costs comfort and shortens component life
Your opener should not crush the door into an uneven floor to get a tight fit. Fresh seals form a barrier that blocks drafts, moisture, and windblown grit, which protects both the garage and your door hardware over time. Independent guidance backs this up. Effective weather stripping blocks drafts and debris, and proper sealing reduces unwanted heat loss and gain in attached spaces. See the overview on weather stripping’s role in stopping drafts and minimizing heat transfer in this local explainer: weather stripping blocks drafts and debris and minimizes heat loss and gain.
This is not just about comfort. Fix the perimeter first.
What seasonal damage looks like when seals fail
When perimeter and bottom seals age, you usually see the effects before you notice the cause. Look for these visible cues instead of guessing at mechanisms:
- Daylight around the sides or a long crescent of light under the door. If you can see light, air and debris are coming through.
- Fine dust lines or leaf fragments just inside the threshold after a windy day. That trail shows the path air takes under the slab.
- Damp edges or swelling at the bottom of wood doors, rust beginnings at metal bottoms, or water tracks across the floor after a rain. A threshold seal can create a watertight barrier under the door when the slab is not perfectly flat. That stops the “wicking” you see in wet seasons.
- Gnaw marks or droppings near corners. Replacing a worn bottom seal improves thermal performance and helps deter pests from choosing the garage as a path in.
- An opener that strains at close, then bounces open.
The Door and Access Systems Manufacturers Association reminds consumers to keep clear of a moving door and to treat the system as potentially hazardous. See DASMA’s consumer safety tips for general guidance.
A mistake-proof way to install or renew your seals
You can plan and execute weather sealing without touching the counterbalance, cables, or operator settings. The key is picking the right profiles for your door and verifying an even, gentle contact all around the perimeter.
- Confirm what you actually need. There are three distinct sealing zones: the bottom seal that slides into an aluminum retainer at the door’s base, the stop molding at the side jambs and head, and an optional threshold that bonds to the floor. Do not buy one type expecting it to fix a different gap.
- Identify the bottom retainer profile before you shop. Common channels accept “T,” “P,” or bulb-style inserts in specific widths. Compare the profile on the old seal to the new material, or bring a short offcut as a sample. Thickness alone does not solve a mismatch.
- Measure twice and add margin. Measure the door width for the bottom seal and the actual jamb lengths for the stop seals. Add a small allowance for trimming square ends.
- Prep the surfaces. With the door fully open and secured, sweep and clean the slab where a threshold might adhere. Wipe the door bottom retainer and the jamb faces with a mild cleaner and let everything dry. Contaminants undermine how well the new material seats and seals.
- Fit the new bottom seal without forcing it. Lubricate the retainer channels lightly with a soap-and-water solution so the insert slides without tearing. Feed evenly from both ends toward the center to avoid stretching one side. Trim flush and, if the retainer has set screws, snug them down gently.
- Replace worn side and top stop seals. Back out the fasteners on the old vinyl or rubber and work steadily along the jamb. When installing the new stop, align it so the bulb or flap just kisses the door surface when closed. Over-compression looks tight but creates drag and early wear.
- Decide whether a threshold is the right add-on. When bonded correctly, it forms a watertight ridge under the door. If you park in the garage, consider the small bump you will drive over daily.
- Test, adjust, then test again. Close the door and look for continuous contact all around. You should feel resistance to a thin strip of paper but not so much that the door drags. Cycle the door from a safe distance.
If you would like a more detailed walk-through, see our complementary guide, How to Weather-Seal a Garage Door, which expands on inspection and preparation. It is written to help you evaluate the work safely before you pick up tools: How To Weather Seal Garage Door
Choosing materials that match your door
Material choice matters more than most people expect. All seals are not the same, and a mismatch is the second most common mistake after turning to the opener for a tight close.
Bottom inserts do the heaviest lifting. A bulb or “T” insert sits in the aluminum channel at the door bottom and flexes over small irregularities in the floor. For uneven slabs, a slightly larger bulb can help, but oversizing adds drag and can cause the opener to reverse. If the retainer is damaged, replacing it is often wiser than fighting a poor fit. Side and head stop seals are typically vinyl but vary in bulb shape and base. You want a profile that maintains a light, even line of contact along the door skin without collapsing.
Thresholds are the piece homeowners often learn only after a wet season. That helps when the slab has a low spot or slopes toward the garage.
If you want to see common profiles before you buy, explore our overview of Types of Garage Door Seals to compare bottom inserts, perimeter stops, and thresholds side by side: Types Of Garage Door Seals That page explains where each type sits and how it solves a specific gap, which is the foundation for getting a clean, low-friction close.
Cost factors and how to compare quotes fairly
You will see a wide range of prices attached to “weather sealing” because the scope changes with the door and the slab. Rather than chase a number, compare line items and the material choices behind them.
Door width and retainer profile drive bottom-seal material length and complexity. A wide double door with a stubborn “T” channel demands more material and a bit more labor finesse than a narrow single with an easy bulb insert. Perimeter stop work is more about fit than footage. If a threshold is in play, the adhesive, surface preparation, and cure time affect both performance and cost.
Then watch for the quiet commitments in the scope. An expert installation is what makes otherwise ordinary materials seal effectively. A poorly fitted premium seal performs like a cheap one, while a correctly sized, carefully aligned standard seal can outperform a “thicker” universal strip.
Buying in Santa Clara and knowing when to call a pro
If you prefer to handle materials yourself, start by taking a sample of the old bottom insert and clear photos of the aluminum retainer channel. Bring exact measurements of the door width and the jamb lengths. Ask the supplier to confirm compatibility between your retainer and the seal profile you are buying. For thresholds, ask about surface prep, adhesives compatible with your slab, and weight ratings if you park in the garage.
Because Garage Door Weather Seal Installation in Santa Clara CA is a straightforward upgrade that touches how your door lands and how your opener behaves, there is a practical line between DIY and professional work.
Visit our Santa Clara page to connect with a local team that understands neighborhood housing stock and scheduling realities. Whether you are searching for garage door repair Sunnyvale, planning repairs in San Jose, or coordinating work in Capitola, folding perimeter sealing into your next service visit is the simplest way to protect the door and improve comfort.
Finally, a quick timing note. Some providers advertise 24/7 garage door repair, but weather sealing is best done in daylight when you can see the contact line and verify an even seal. If you want a refresher on what to inspect safely before you book a visit, our primer on How to Weather-Seal a Garage Door outlines visual checks and preparation: How To Weather Seal Garage Door
A simple maintenance plan that keeps the seal working
A few minutes twice a year keeps seals doing their job. Clean the bottom insert and the jamb seals with a mild soap and water solution, then wipe dry so dust does not stick. With the garage lights off during daylight, close the door and look for any daylight at the edges. Light leaks are air leaks. Adjust the side stop slightly if needed to restore gentle contact. Do not overtighten; more pressure is not a better seal, it is more friction.
Watch one full open and close cycle with people and pets clear of the door. A healthy door moves steadily without pausing or reversing. The combination of an even seal and a low-friction travel is what protects the door, the opener, and your home’s comfort.
If you are weighing insulated vs non insulated garage door options for a future upgrade, remember that even the best door cannot overcome a poorly sealed perimeter. Start with the simple, durable fix at the edges and threshold.
When you are ready to line this up with other work or prefer a technician to do it end to end, our teams in Santa Clara and Capitola provide same-day help across the South Bay and Santa Cruz County. That local coverage is built for reliability and quick response when the season changes and your door needs to close cleanly, every time.